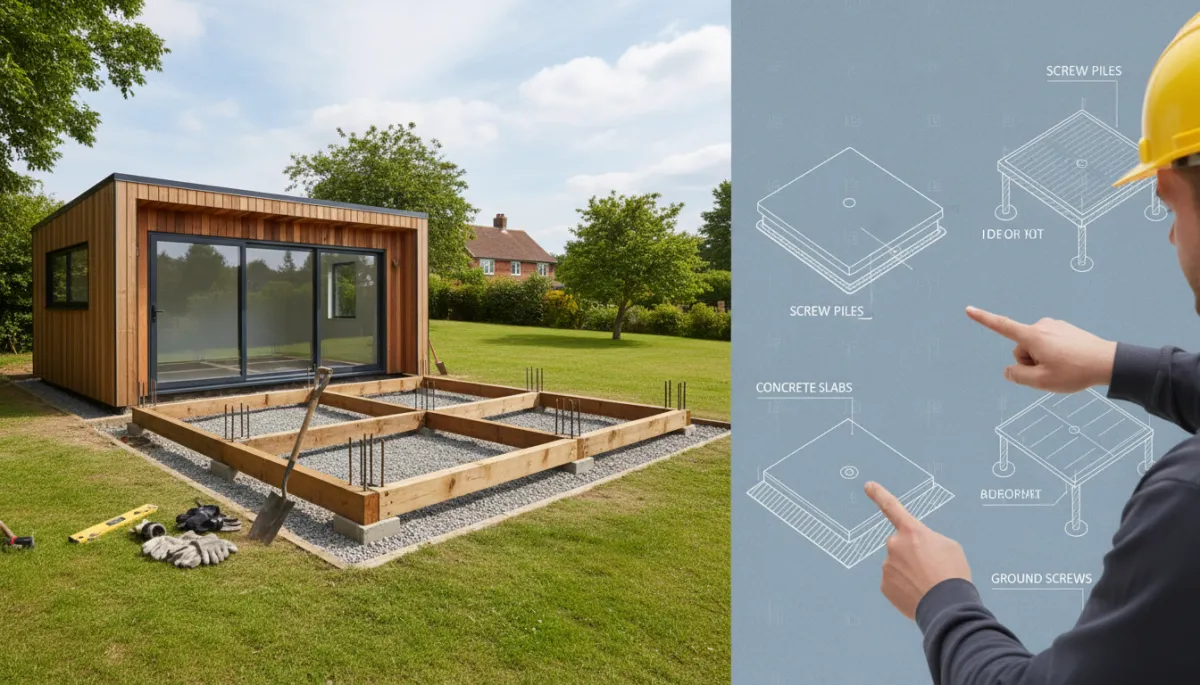
Garden Room Foundations: UK Guide for Stability
Home & Garden, Garden Room Foundations, Building Tips
Garden Room Foundations Explained: A Friendly Guide for UK Gardens
Thinking about adding a garden room to your home is exciting. It is a chance to create a calm office, a cosy snug, a gym, or simply a beautiful extra space that connects you to your garden. But before you pick cladding colours or furniture, there is one less glamorous topic that matters more than almost anything else: the foundations. Get these right, and your garden room will feel solid, dry, and comfortable for years. Get them wrong, and you may be dealing with creaks, damp patches, or doors that stop closing properly.
Why Garden Room Foundations Matter So Much
A garden room might look like a simple timber building, but it behaves much more like a small house than a shed. Inside, you may have electrics, heating, expensive flooring, and built-in furniture. All of this relies on a foundation that is level, stable, and well drained.
Comfort: A solid base stops floors from bouncing or feeling spongy underfoot, making your garden room feel like a true extension of your home.
Durability: Good foundations protect the structure from movement, rot, and water damage, so your investment lasts for decades, not just a few years.
Finishes: Doors, windows, plasterboard, and cladding all perform better when the building is sitting squarely on a well-designed base.
💡 Friendly Tip: When comparing quotes for a garden room, always ask exactly what type of foundations are included. It is one of the easiest ways to spot whether you are comparing like with like.
The Main Types of Garden Room Foundations (and When to Use Them)
There is no single “best” foundation for every garden room. The right choice depends on your soil, the slope of your garden, the size of the building, and of course your budget. Here are the most common options you will come across in the UK, along with practical building tips for each.
1. Concrete Slab Foundations
A poured concrete slab is often seen as the traditional, “belt and braces” approach to garden room foundations. It involves excavating the area, adding a compacted hardcore sub-base, and then pouring a reinforced concrete pad to create a single, level platform for the building to sit on.
Best for: Larger or heavier garden rooms, sites where you want a very low step up into the room, and gardens with firm, reasonably well-drained ground.
Pros: Extremely solid, long-lasting, and familiar to most trades. It can also be finished with insulation and screed if needed.
Cons: More excavation, more concrete, and more disruption for your garden. It is also less forgiving on sloping sites without extra work.
Building Tip: If you opt for a concrete slab, make sure it is slightly larger than the garden room footprint and that it is poured with a gentle fall away from the building to encourage rainwater to run off.
2. Ground Screw Foundations
Ground screws have become very popular for modern garden rooms. They are large, steel screws that are driven into the ground at set points, usually following a grid layout. The garden room then sits on a timber or steel frame that is fixed to the top of the screws.
Best for: Sloping gardens, areas where you want to minimise digging, and sites with tree roots or existing patios you want to leave undisturbed.
Pros: Fast to install, often in a single day. Less concrete and spoil, and typically kinder to the garden. They can be adjusted to create a perfectly level base even on uneven ground.
Cons: Not suitable for all soil types (very soft or very rocky ground can be tricky), and they require specialist equipment and know-how.
Building Tip: Ask your installer for a ground survey or test screw before committing. It is the best way to confirm that ground screws are right for your particular plot.
3. Concrete Pads and Piers
Instead of a full slab, some garden rooms are supported on a series of smaller concrete pads or piers set at key points, such as corners and mid-span positions. These are connected by a structural timber base that spreads the load of the building evenly.
Best for: Medium-sized garden rooms on reasonably level ground where you want a balance between solidity and minimal excavation.
Pros: Uses less concrete than a full slab, allows airflow beneath the building, and can cope with gentle slopes using different pad heights.
Cons: Needs careful setting out and levelling. Poorly spaced pads can lead to bounce in the floor or uneven load distribution.
4. Timber or Composite Deck Bases
Some smaller garden rooms or lighter buildings are installed on robust deck-style bases. These typically use treated timber or composite joists on supports, with decking boards or structural sheets on top. The garden room then sits on this raised platform.
Best for: Smaller studios, hobby rooms, or where you already have a suitable deck that can be upgraded to support a building.
Pros: Can be quite cost-effective and gives a lovely “step up” feeling. Good airflow underneath helps keep timber dry when designed correctly.
Cons: Not ideal for very heavy garden rooms, and it is essential that the deck is built to structural standards, not just decorative ones.
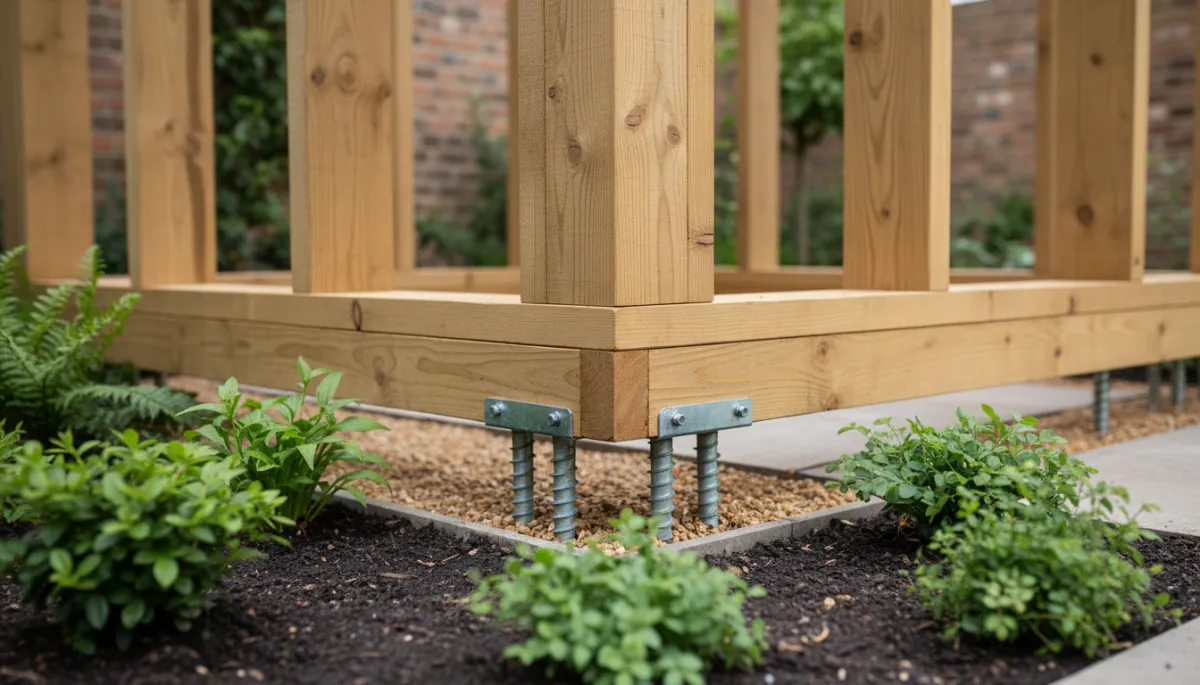
Ground screw foundations keep disruption low while providing a strong, level base.
Understanding Your Garden: Soil, Slope, and Site Conditions
Before you fall in love with any particular foundation type, it is worth taking a good look at your garden itself. The ground beneath your feet plays a huge role in what will work best for your garden room foundations.
Soil Type and Drainage
In parts of Nottingham and much of the UK, clay soils are common. Clay can swell when wet and shrink when dry, which makes it more prone to movement. Sandy soils tend to drain better but may need deeper foundations to reach firm ground. If your garden gets boggy after heavy rain or stays wet for days, drainage will need extra thought.
Building Tip: After a downpour, take a walk around the area where you plan to put your garden room. Puddles that linger, squelchy turf, or visible surface water are all signs that drainage needs to be addressed in your foundation design.
Slopes, Steps, and Access
Very few gardens are perfectly flat, and that is absolutely fine. A gentle slope can often be handled with ground screws, concrete pads of varying heights, or a stepped base. What matters is that the finished foundation is level and that you have a comfortable way of getting in and out of the garden room, whether that is a flush threshold or a couple of well-planned steps.
Access for machinery is another practical consideration. If your garden can only be reached through a narrow side passage, it may be trickier to bring in diggers or large loads of concrete. In these cases, lighter or modular foundation systems, such as ground screws, can be a real advantage.
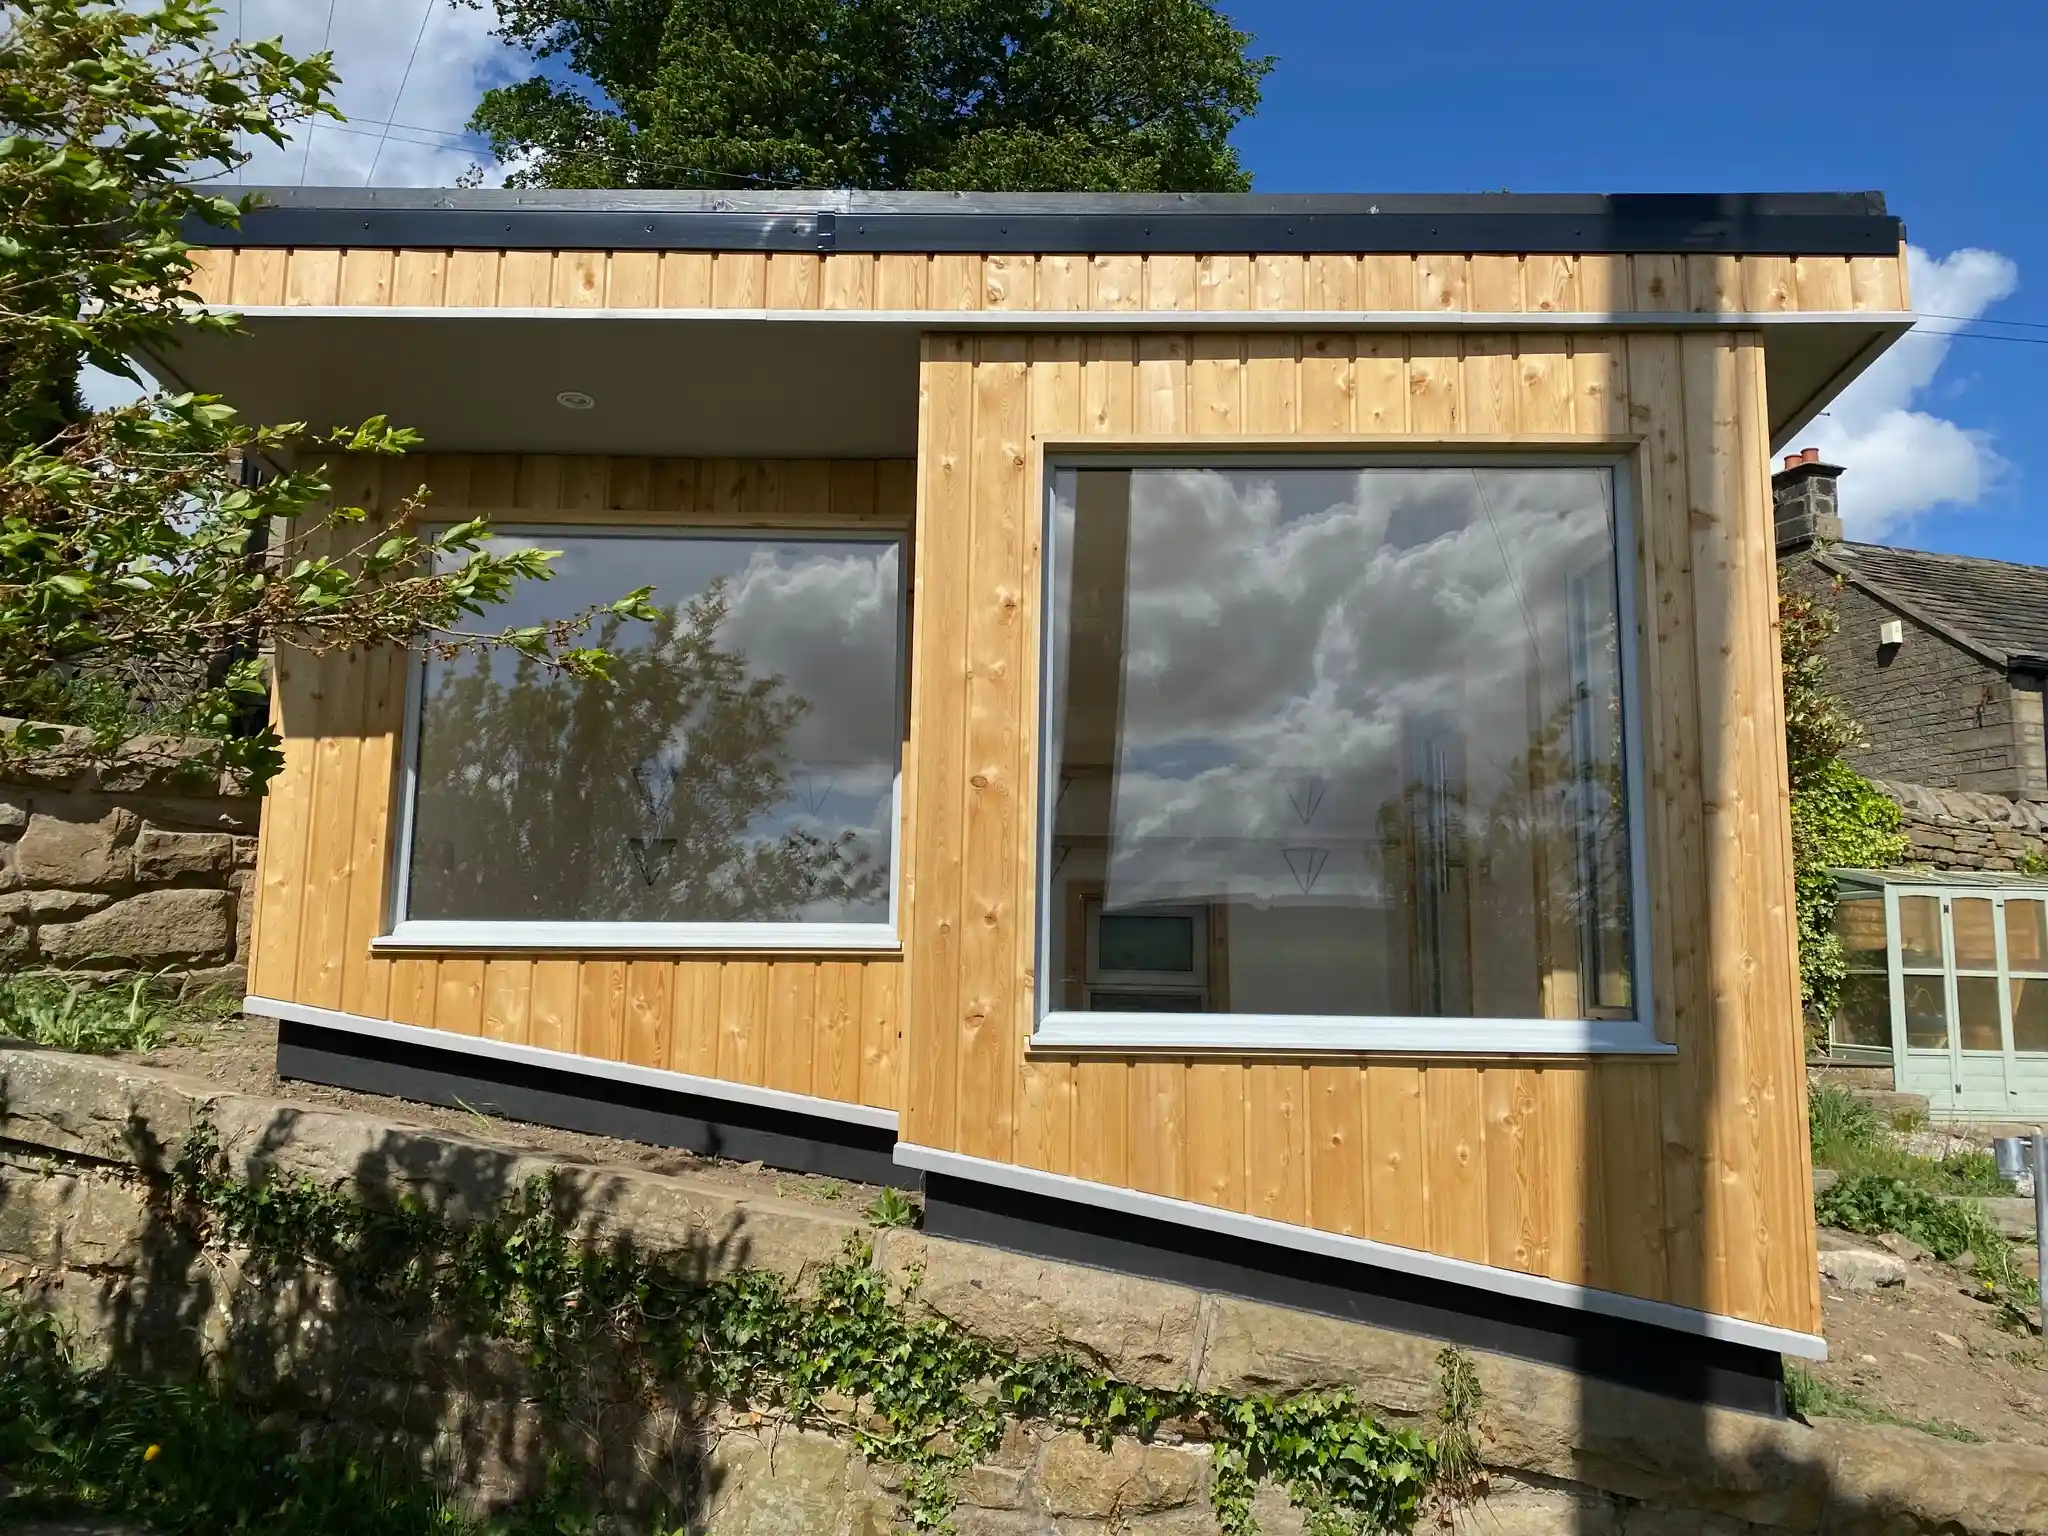
Well-planned foundations can turn a sloping garden into a practical, usable space.
Key Building Tips for Long-Lasting Garden Room Foundations
Whatever foundation system you choose, there are some universal building tips that will help your garden room feel solid and stay looking good year after year.
1. Prioritise Drainage and Moisture Control
Water is one of the biggest enemies of any garden building. A well-designed foundation should help to keep moisture away from the structure, not trap it underneath. This could include a compacted hardcore layer under a slab, drainage channels, or leaving a clear gap between the bottom of the cladding and ground level so that rain splash does not soak the walls.
Building Tip: Aim to keep the bottom of your garden room’s external cladding at least 150 mm above finished ground level. This simple detail can dramatically reduce the risk of rot and staining.
2. Get the Levels Spot On
A few millimetres out at foundation stage might not sound like much, but it can cause headaches later. Doors that do not quite line up, glazing that binds, and skirting boards that reveal gaps are often the result of a base that is not perfectly level and square.
Professional installers will use laser levels or long spirit levels to check and re-check as they build. If you are taking a more hands-on approach, take your time at this stage – it is much easier to adjust foundations than to try and “pack up” a finished garden room later on.
3. Think About Services Early: Power, Data, and Water
One of the joys of a modern garden room is being able to plug in a laptop, switch on the heating, or enjoy soft lighting in the evening. To make this easy, it is wise to plan your services before the foundations go in. That might mean running ducting under a slab, allowing space for cables beneath a raised base, or agreeing entry points for pipes and conduits with your installer and electrician.
Building Tip: Even if you are not sure you will need data or water straight away, consider adding an empty duct under the foundations. It is a small extra step that can save you digging up your lawn in future.
4. Respect Trees, Roots, and Boundaries
Mature trees can be a beautiful backdrop for a garden room, but their roots and canopies do need to be considered. Large roots can affect foundations, while digging too close can harm the tree. There may also be planning restrictions or tree preservation orders to think about. Similarly, remember that most garden rooms need to sit a certain distance inside your boundary to comply with permitted development rules, especially if they are over a particular height.
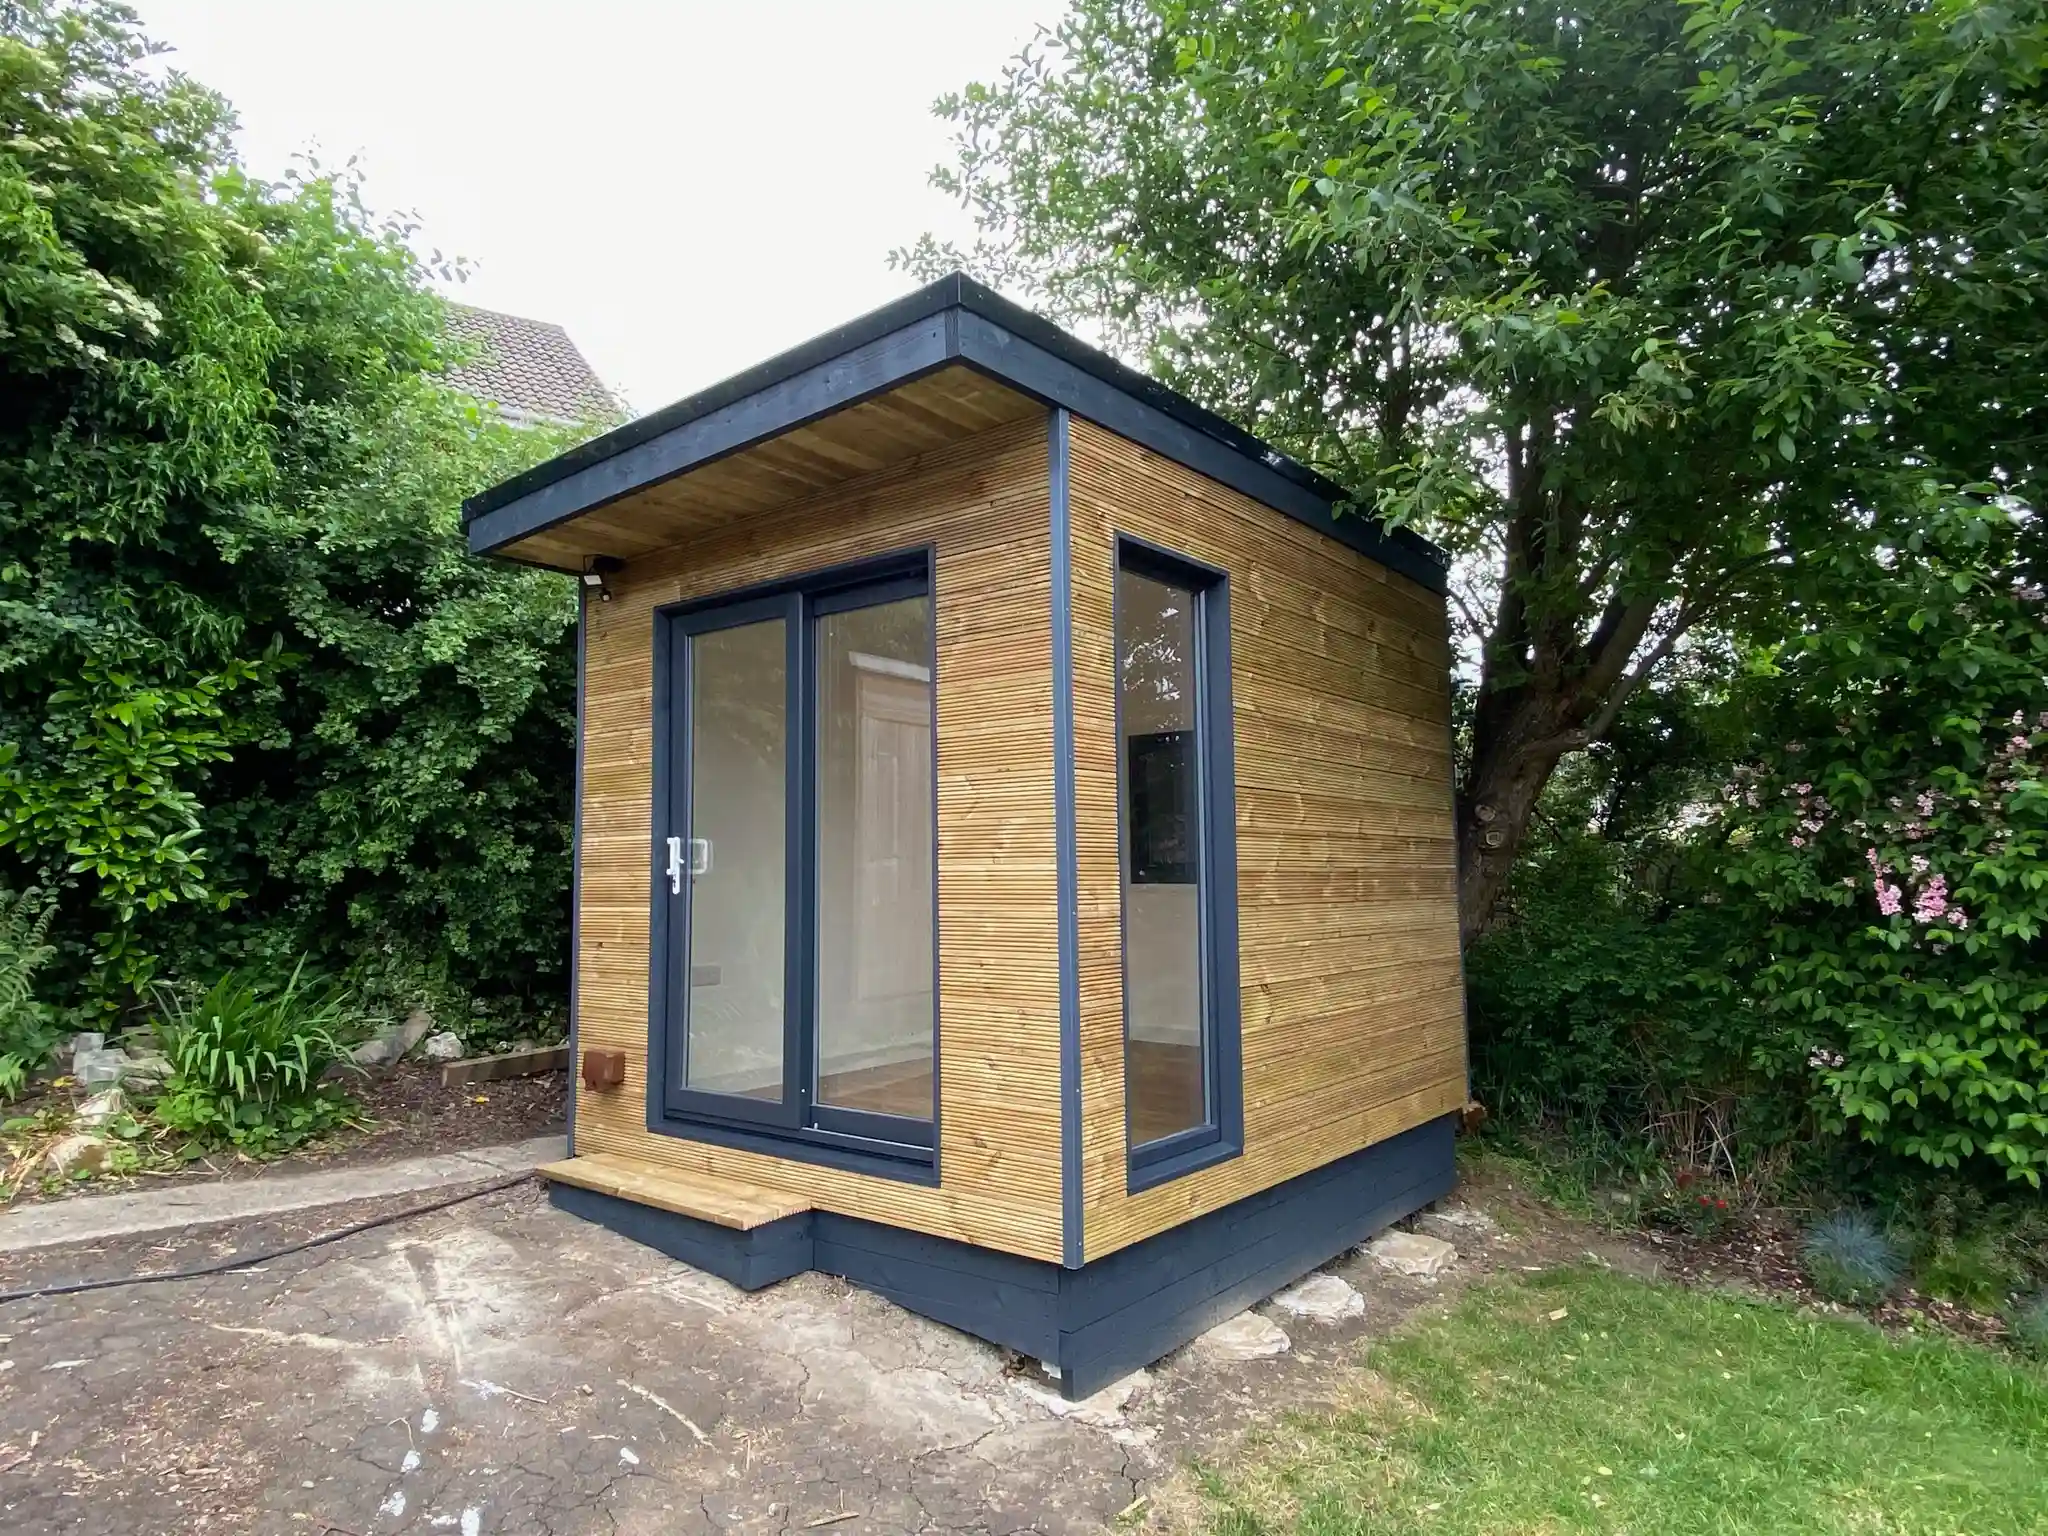
Sensitive foundation design can protect existing trees while creating a calm retreat.
Working with a Local Garden Room Specialist
While some keen DIYers do tackle their own garden room projects, many homeowners prefer the peace of mind that comes from working with an experienced local company. A specialist who understands your area’s typical soil conditions, weather, and planning quirks can take a lot of the stress out of the process and help you make confident decisions about your foundations.
In and around West Bridgford, Nottingham, for example, a local builder of garden rooms will be familiar with common plot sizes, access routes between terraced houses, and the way many gardens gently slope away from the house. They will know which foundation systems tend to work well in different neighbourhoods and can often share real-world examples from previous projects nearby.
A company such as NG2 Garden Studio Co. can walk you through the options, explain how each type of base would be installed in your particular garden, and help you balance practicality, budget, and appearance. Having that friendly, local insight makes it much easier to choose a solution you will feel happy living with for years to come.
Common Myths About Garden Room Foundations
When you start researching garden rooms, it is easy to stumble across strong opinions and a few persistent myths. Here are some you can safely ignore.
“You always need a full concrete slab.” Not true. While slabs are excellent in many situations, modern systems like ground screws or pads can be just as robust when designed properly, and are often kinder to your garden.
“Any level patio will do.” A standard patio is usually not built to take the weight of a fully insulated garden room plus furniture and people. It may be fine as a surface, but you will typically still need proper foundations beneath it.
“Foundations are the place to cut costs.” It is tempting to spend the budget on bi-fold doors or fancy lighting instead, but a weak foundation can undermine all of those lovely features. It is almost always better to invest in a solid base and simplify finishes if needed.
Planning Your Garden Room: A Simple Step-by-Step Approach
To bring everything together, here is a gentle step-by-step way to approach your garden room project with foundations firmly in mind.
Clarify how you will use the room. Office, music studio, gym, or guest entertainment space – heavier uses may need sturdier foundations and extra insulation in the floor.
Choose the best spot in the garden. Think about sunlight, privacy, views, and how close you want to be to the main house. Then take note of slopes, trees, and existing surfaces in that area.
Talk foundations early with your chosen installer. Ask what type they recommend for your site and why, and check what is included in the quote. From excavation and spoil removal to reinstating surrounding lawn or borders.
Agree where services will run. Power, lighting, heating, and data all benefit from being planned before the first hole is dug, especially if cables or pipes need to pass under the base.
Allow a little time for the ground to settle. With some foundation types, your installer may recommend a short pause before internal finishes go in, just to make sure everything has bedded down nicely.
Following this calm, considered process keeps the focus on what really matters: creating a garden room that feels welcoming, stable, and beautifully integrated into your outdoor space.
Bringing It All Together: A Solid Start for Your Garden Room
At first glance, foundations can seem like the dull part of a garden room project, especially when compared with choosing cladding colours, flooring, or that perfect armchair. But in reality, a well-designed base is what allows all those enjoyable details to shine. It is the quiet hero that keeps your room dry, level, and comfortable through frosty winters, summer heatwaves, and everything in between.
Whether your garden calls for a traditional concrete slab, modern ground screws, sturdy pads, or a carefully engineered deck base, the key is thoughtful planning and good workmanship. Pay attention to drainage, levels, and services, and do not be afraid to ask questions until you feel confident you understand how your garden room will be supported.
If you are in West Bridgford or the wider Nottingham area, working with a local specialist such as NG2 Garden Studio Co. means you can tap into practical experience of real gardens just like yours. That local knowledge, combined with clear communication and a friendly, down-to-earth approach, can make the whole journey from first idea to finished garden room feel surprisingly straightforward.
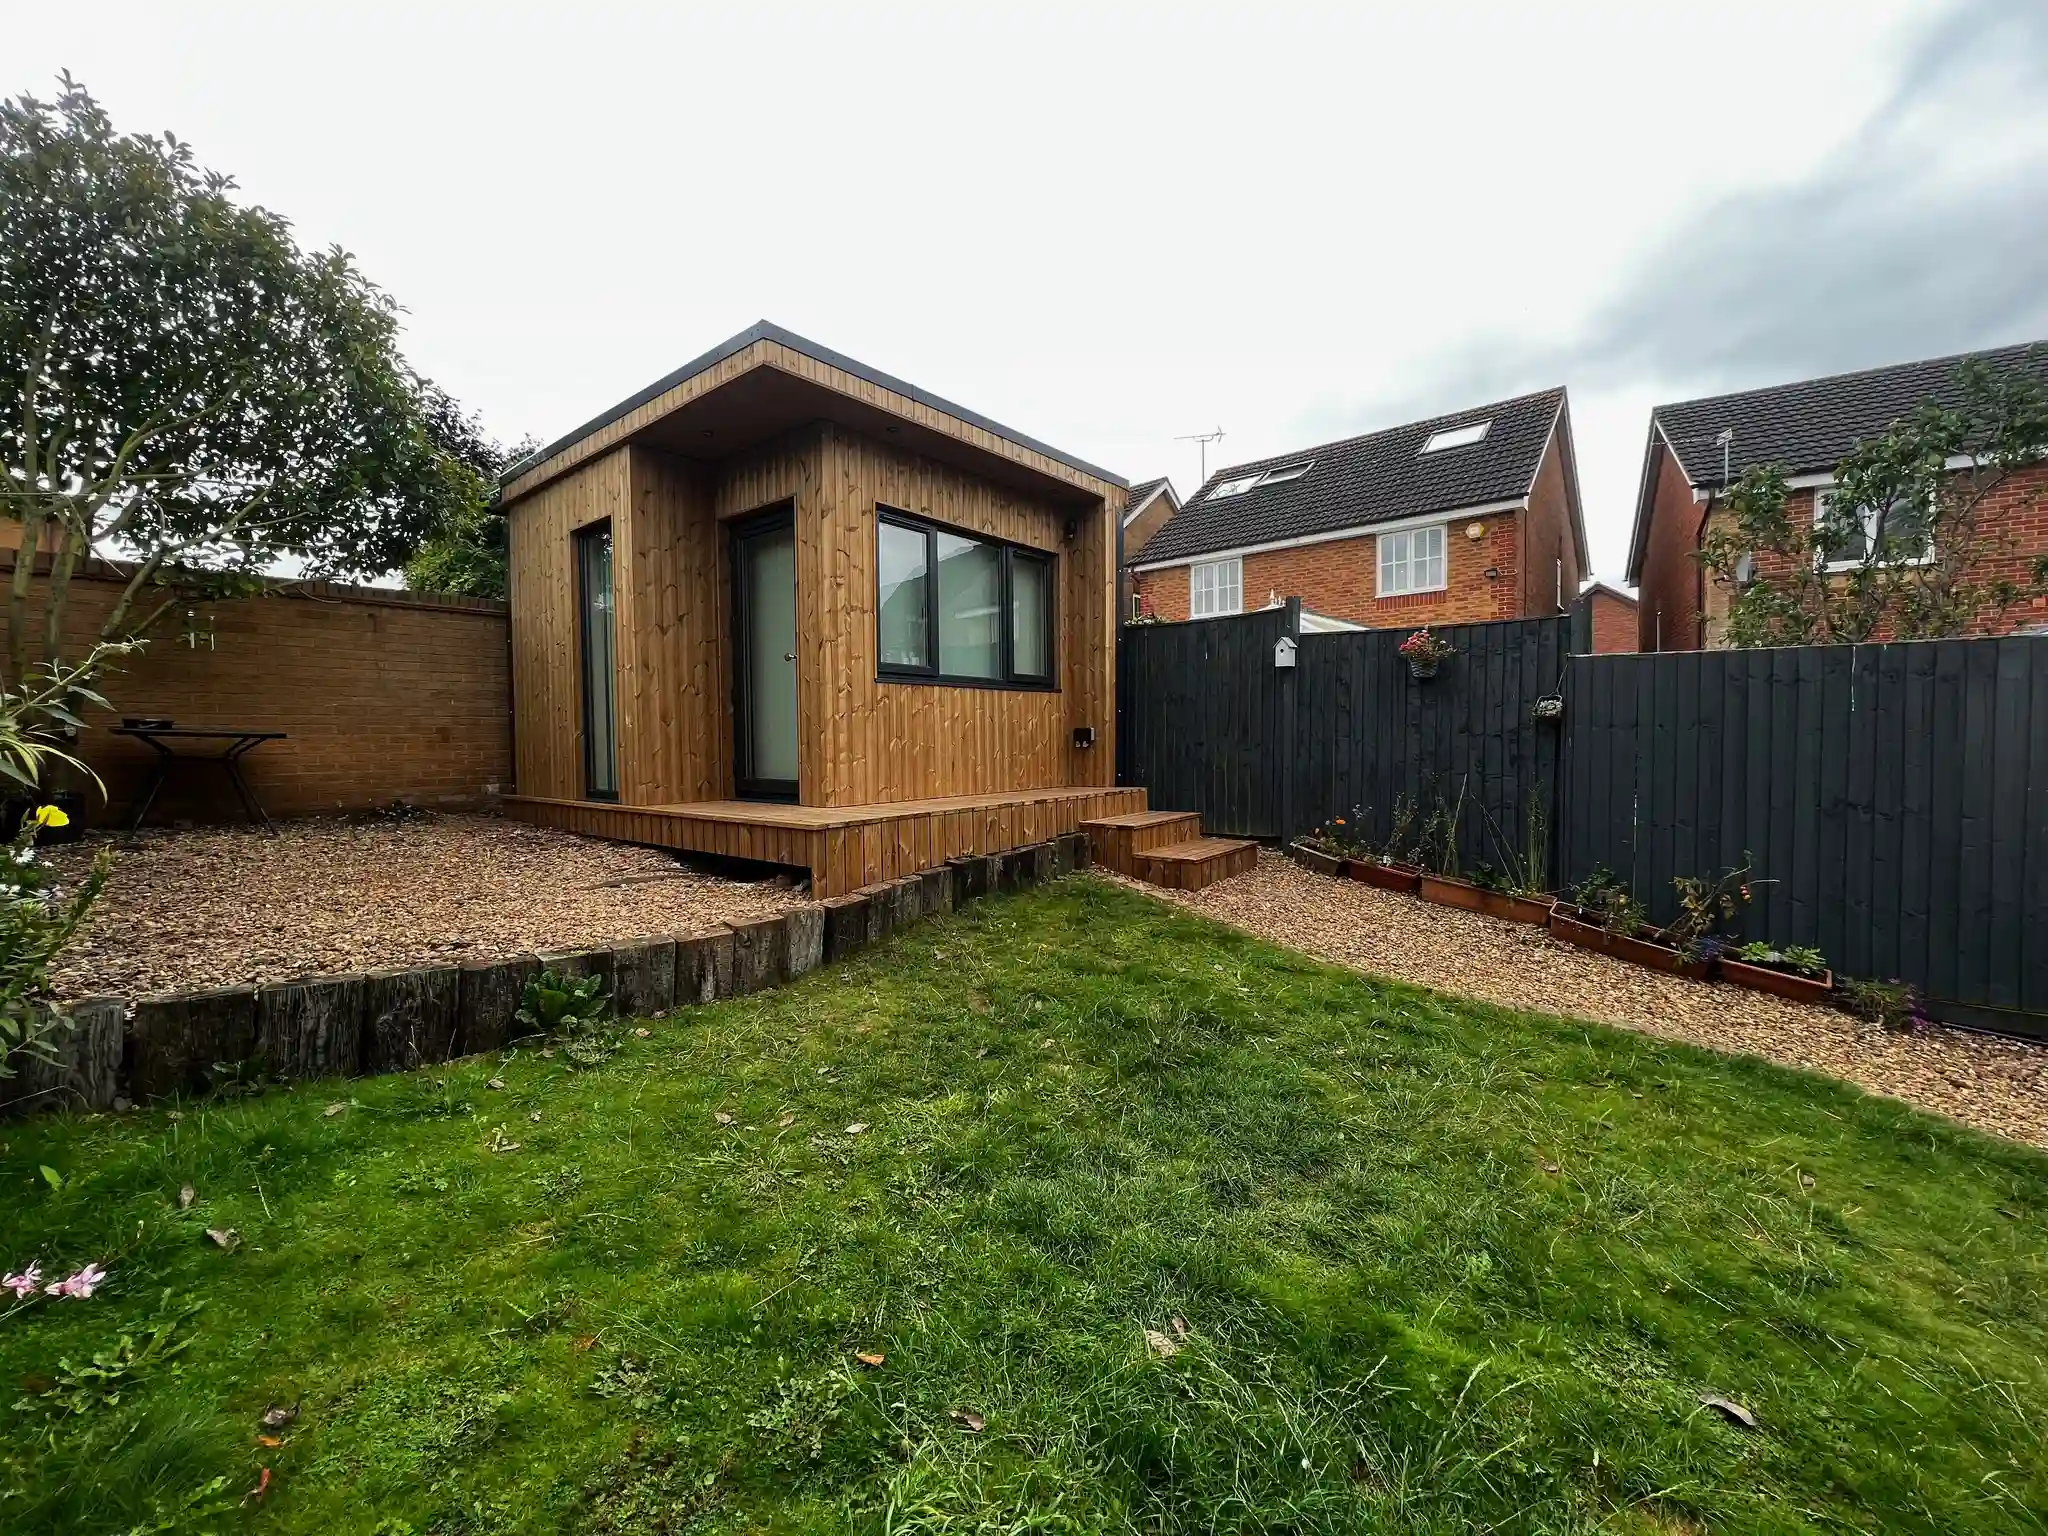
A carefully built foundation turns your garden room into a year-round retreat.
Ready to Take the Next Step?
If you are dreaming of a calm home office, a creative studio, or a cosy hideaway at the end of the lawn, now is a lovely time to start planning. Begin by looking at your garden with fresh eyes, thinking about where a garden room would feel most natural, and jotting down how you would like to use the space through the seasons.
When you are ready to chat foundations, layout, and all the little building tips that turn a good idea into a genuinely useful space, reach out to a trusted local expert. If you are in or near West Bridgford, Nottingham, you can speak with NG2 Garden Studio Co. about your plans and arrange a friendly site visit to explore what will work best in your own garden.
Start your garden room journey today. Sketch your ideal layout, take a few photos of your garden from different angles, and get in touch with a specialist to discuss foundation options tailored to your plot. With the right base beneath it, your new garden room can become one of the most loved spaces in your home.
[Read Next]
Best Cladding Options for Garden Rooms in Nottingham
[Find Out]
How Much Does a Garden Room Cost in 2026?
[Learn More]